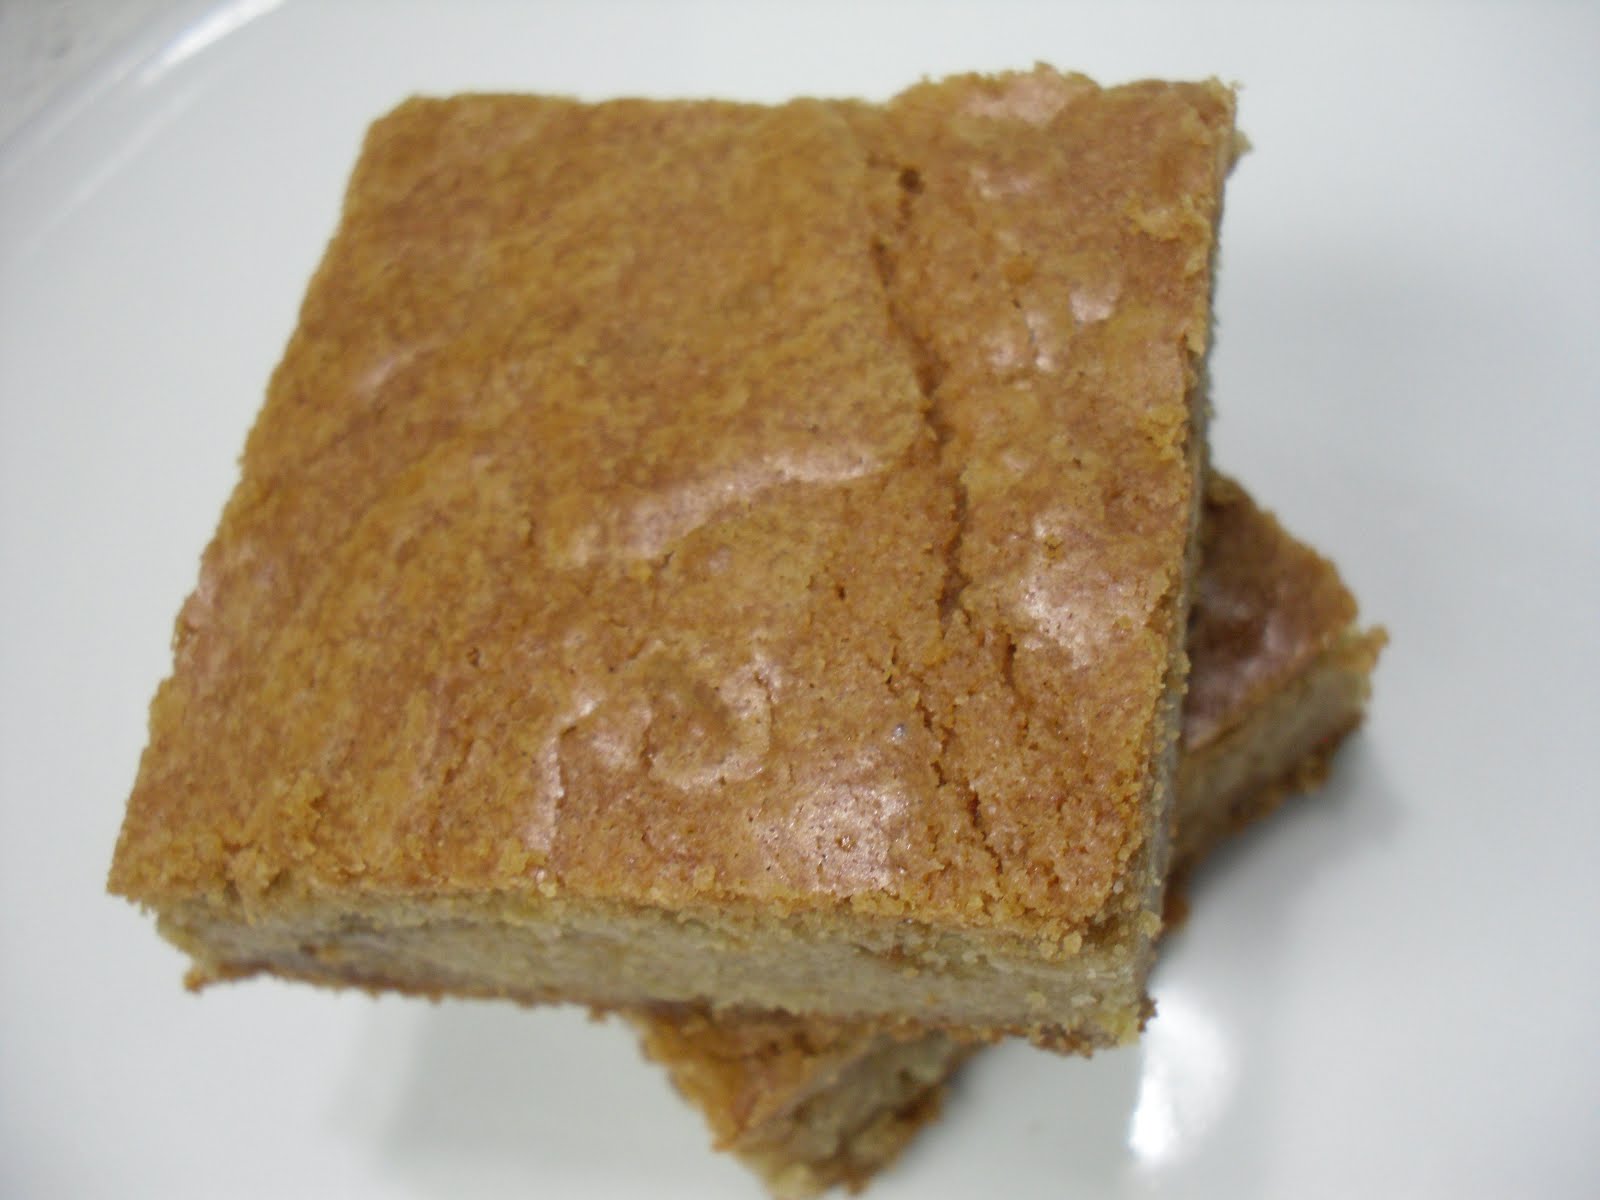
(Try saying that 3 times!) These brown butter toffee blondies are absolutely out of this world! Who knew a brownie made without chocolate could taste so heavenly? Maybe it’s the brown butter or the toffee bits that add this incredible layer of flavor you get with each bite? It’s buttery, gooey and simply decadence at its best. Lovely with a scoop of vanilla ice cream or all by itself!


 {Brown Butter Toffee Blondies}
You'll need:
1 1/4 cups (2 1/2 sticks) unsalted butter|
2 1/4 cups all-purpose flour|
1 1/2 teaspoons baking powder|
1 1/2 teaspoons salt|
2 cups packed light-brown sugar|
1/2 cup granulated sugar|
3 large eggs|
2 1/2 teaspoons pure vanilla extract|
1 cup toffee bits
{Brown Butter Toffee Blondies}
You'll need:
1 1/4 cups (2 1/2 sticks) unsalted butter|
2 1/4 cups all-purpose flour|
1 1/2 teaspoons baking powder|
1 1/2 teaspoons salt|
2 cups packed light-brown sugar|
1/2 cup granulated sugar|
3 large eggs|
2 1/2 teaspoons pure vanilla extract|
1 cup toffee bits
 1. Preheat oven to 350 degrees. Butter a 9-by-13-inch baking pan.
2. In a saucepan over medium heat, cook the butter until it turns golden brown; remove from heat, and let cool. (I used an ice bath to help accelerate this process & remember to handle with care because the butter is really hot. I think I burned off my finger nerve endings!) Whisk together flour, baking powder, and salt.
1. Preheat oven to 350 degrees. Butter a 9-by-13-inch baking pan.
2. In a saucepan over medium heat, cook the butter until it turns golden brown; remove from heat, and let cool. (I used an ice bath to help accelerate this process & remember to handle with care because the butter is really hot. I think I burned off my finger nerve endings!) Whisk together flour, baking powder, and salt.
 3. In the bowl of an electric mixer, combine browned butter and both sugars; stir with a wooden spoon until combined. Attach bowl to mixer; add eggs. Using the paddle attachment, beat on medium-high speed until light and fluffy, about 3 minutes. Add vanilla, and beat to combine. Add flour mixture and toffee bits. Mix until thoroughly combined, and pour into prepared pan.
 4. Bake until a cake tester inserted in the center comes out clean, 35 to 40 minutes. Transfer to a wire rack to cool.