
DIY Coco-Inspired Sugar Skull Earrings


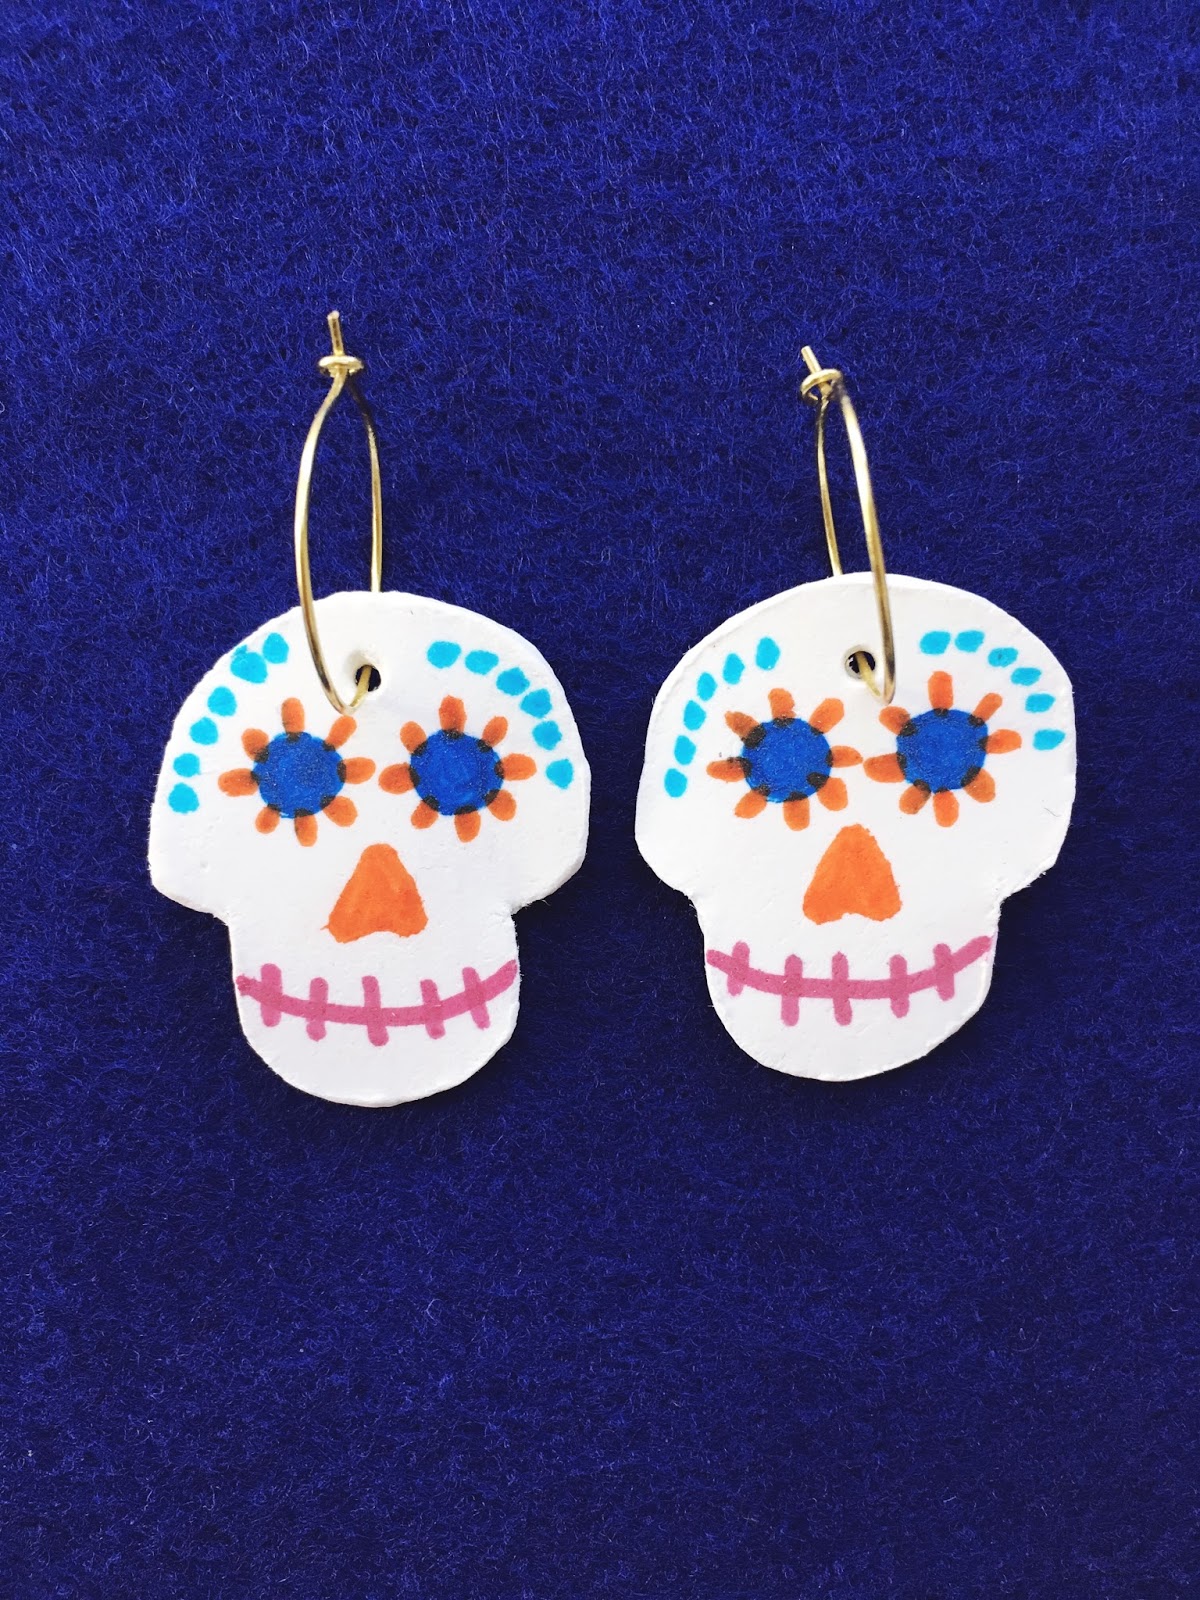
I am super excited about the release of  Disney Pixar's Coco, in theaters November 22. It is absolutely breathtaking and visually stunning. Seriously, the trailer gives me chills! I made these fun sugar skull earrings to wear when I see the movie. You won't believe how easy it is to make!

Stuff You'll Need:
- air dry clay
- skull template
- pairing knife
- skewer
- earring hoops
- pliers
- markers (not pictured)

Simply flatten your air dry clay. Place skull template on the clay and carefully cut around it with your paring knife. Poke a hole at the top on each skull with a skewer. Allow skulls to air dry completely for at least 24 hours.

Once your skulls are dry, draw on features with your markers.


Attach skulls to earring hoops. Use your pliers to adjust as needed.

Popular posts from this blog

DIY Mr. Potato Head Busy Board

Keep the little ones busy while they learn about their 5 senses. This Mr. Potato Head busy board is simply made with felt. Remember, felt naturally sticks to itself so the fun and possibilities are endless! Stuff You'll Need: - felt in various colors - scissors - hot glue gun  Directions: 1. Cut a large potato-shaped body out of light brown felt. 2. Make your eyes, ears, nose, mouth and arms. You can make additional fun accessories like a hat, shoes, bag, etc. Get creative! Here's Mrs. Potato Head! Emma and her masterpiece!

DIY Felt Ice Cream Truck Quiet Board

I'm constantly finding new ways to entertain my little tot while I try to get work done. This adorable felt ice cream truck quiet board will keep the little ones busy, plus they can work on their counting skills, colors and building skills. And remember, felt naturally sticks to itself so the fun never ends! Stuff You'll Need: - a 20" x 15" foam board - scissors - box cutter - hot glue glue - white felt - felt in assorted colors for your truck accessories and ice cream treats Directions One: Two: Three: Cut out an ice cream truck canopy, window, truck divider & wheels out of felt (in your choice of colors). Four: Glue all the above onto your felt-covered board using your hot glue gun. Five: Create your ice cream treats! This is the fun part and the possibilities are endless. Here's Emma's "Menu" of ice cream treats I've made: happy creating! xo

Au revoir! Catch me on Instagram

I initially started this blog in 2010 to chronicle  my baking adventures. In 2013 I became a mother and this space shifted to sharing my DIYs and inspiration for creative living. Since then, I've been fortunate to work with multiple companies producing creative editorial content. As I look back at this blog, I'm reminded of how your passions can actually unfold into a career. And if you're really patient and willing to put in the all the work, dream jobs do come true. So it is here where I say au revoir to my beloved blog, aka my creative journal. You can still find me on @craftedbyjen .  xoxo, Jen