
Hosting the Perfect Holiday Cookie Swap

This year, I hosted my very first cookie/ornament swap! For me, a cookie swap is the perfect way to kick-off the holiday season. It's a time for family and friends to get together in a festive setting over cocktails, chit and chat and cookies! Wanna host a cookie swap of your own? Invite a group of family & friends to your home and have each one bring 2 dozen of their favorite homemade cookies or treats. At the party, sample the treats, then trade and package them as gifts. The goal: Everyone leaves with finished gifts and plenty of new recipes.
Send out your invitations: Set the right tone for your cookie swap with stylish invitations. I got mine on zazzle.com. Make sure you send them out at least 1 month in advance.
Create a beautiful display: Set out several platters and cake stands. Put folding place cards out for guests to write the name of the cookie they brought.
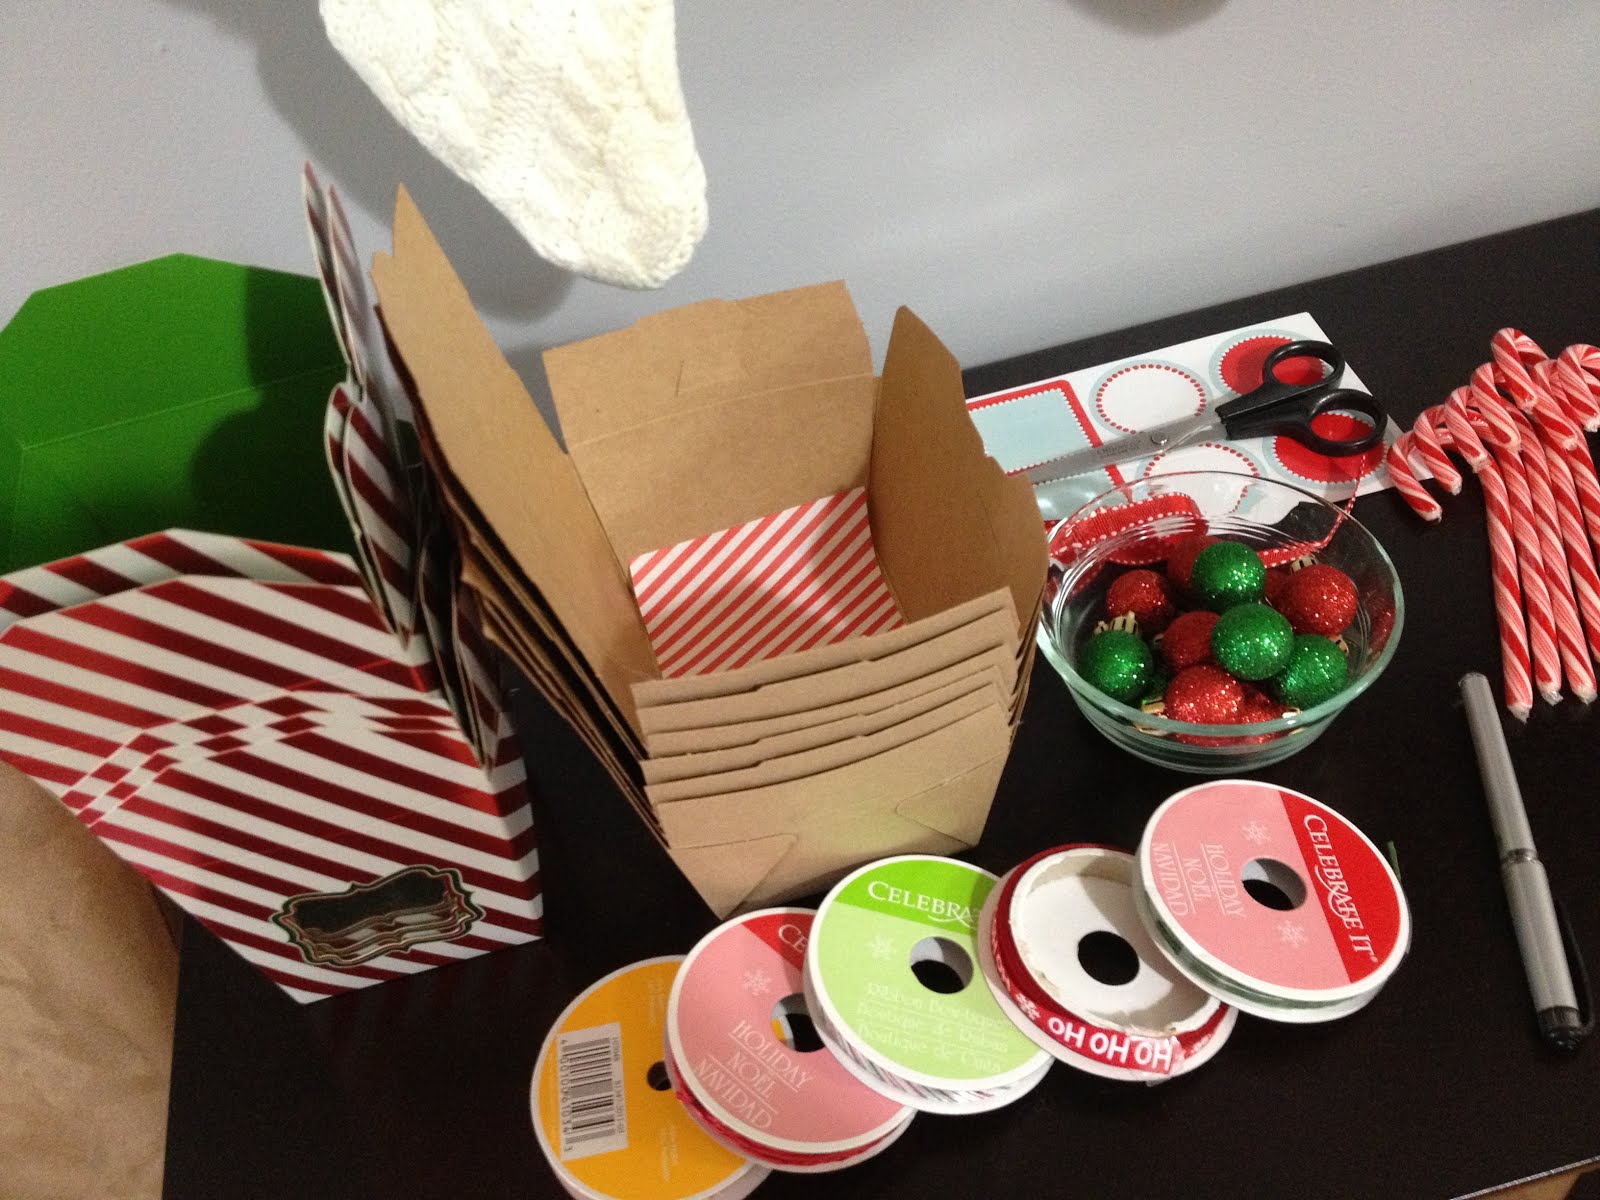
Set Up a Packaging Station: Stock the station with sticky labels, ribbons, twine, cardboard boxes, tissue paper, scissors, and other trimmings.
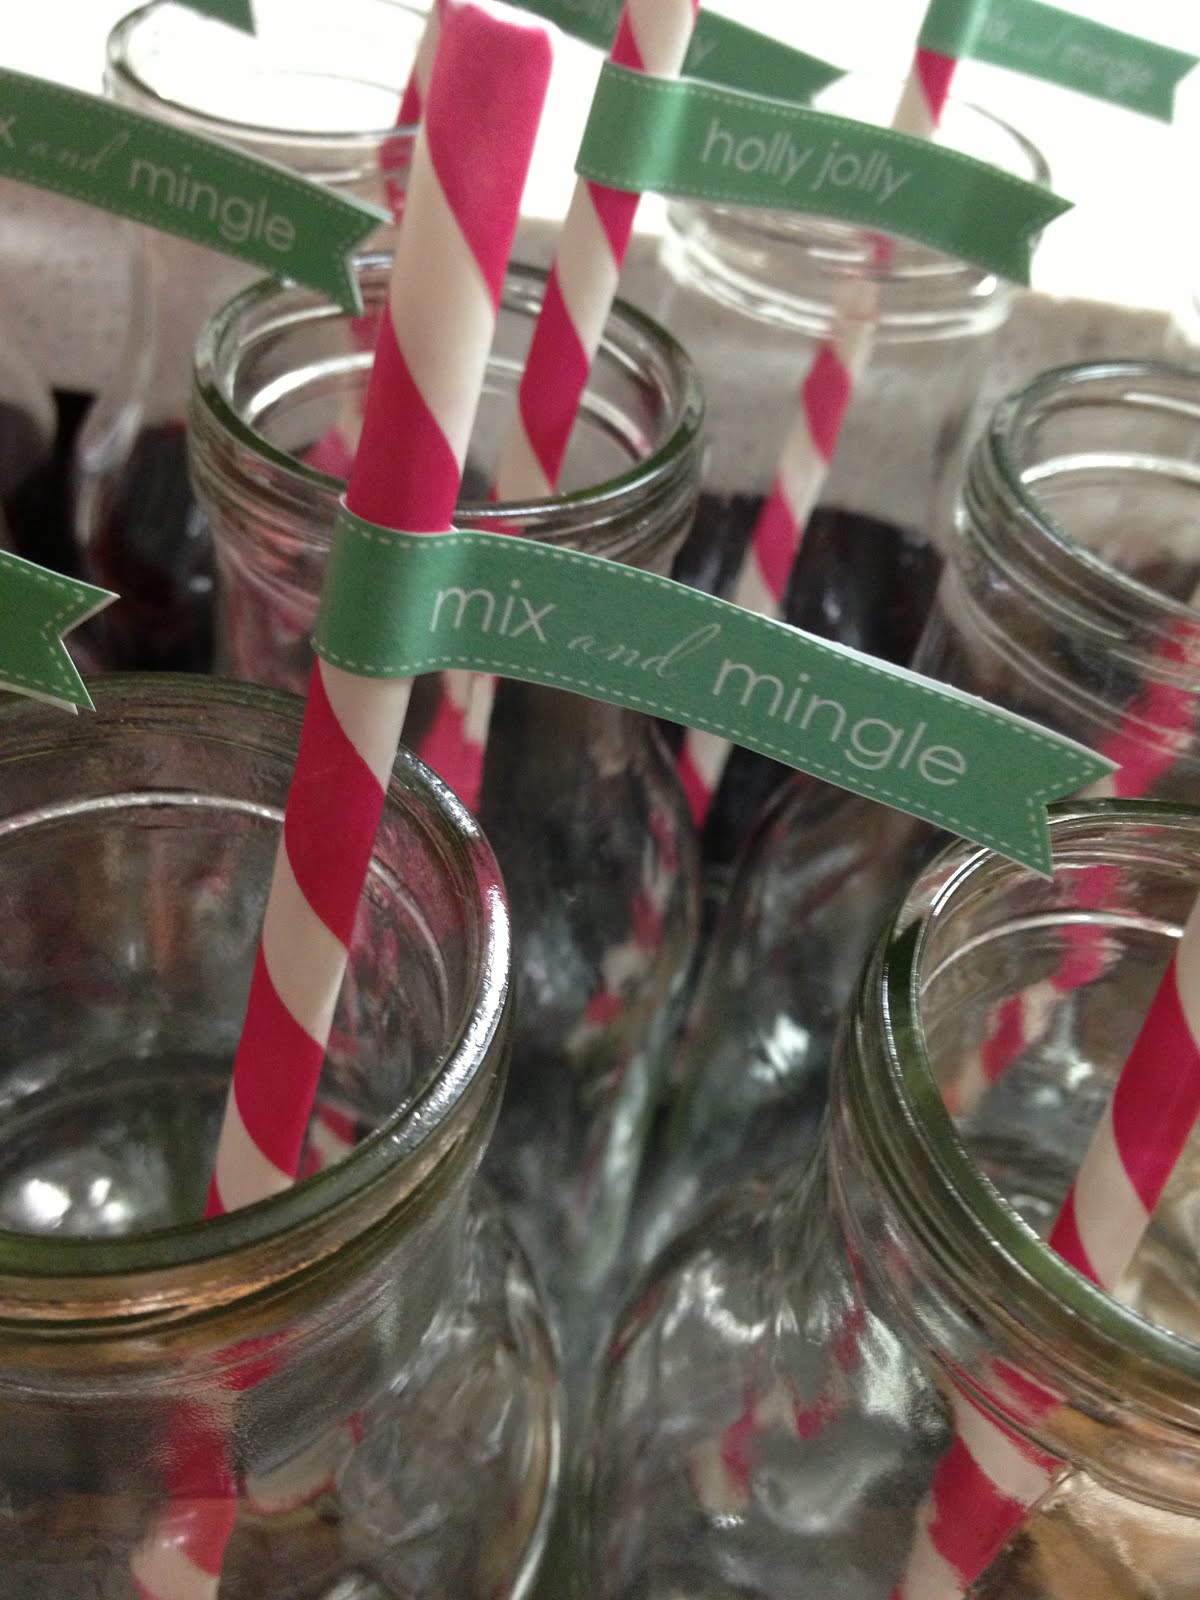
Prepare for the Swap: On the day of the party, have plenty of drinks available. Including warm spiced apple cider, champagne, & ice water. Be sure to have some salty snacks like popcorn and chips to balance out all the sweetness. Start sampling, swapping, and packaging cookies. Most importantly, have fun!
VENDOR CREDITS: Styling: Frost Cakes| Paper Bunting: Michael's Craft Store| Candy: Michael's Craft Store & Target| Custom Gingerbread House: Frost Cakes| Invitations: Zazzle| Flag Printables: Catch My Party| Photography: Frances Park & Frost Cakes| Lunch Catered by: Ward Lorica

Popular posts from this blog

DIY Mr. Potato Head Busy Board

Keep the little ones busy while they learn about their 5 senses. This Mr. Potato Head busy board is simply made with felt. Remember, felt naturally sticks to itself so the fun and possibilities are endless! Stuff You'll Need: - felt in various colors - scissors - hot glue gun  Directions: 1. Cut a large potato-shaped body out of light brown felt. 2. Make your eyes, ears, nose, mouth and arms. You can make additional fun accessories like a hat, shoes, bag, etc. Get creative! Here's Mrs. Potato Head! Emma and her masterpiece!

DIY Felt Ice Cream Truck Quiet Board

I'm constantly finding new ways to entertain my little tot while I try to get work done. This adorable felt ice cream truck quiet board will keep the little ones busy, plus they can work on their counting skills, colors and building skills. And remember, felt naturally sticks to itself so the fun never ends! Stuff You'll Need: - a 20" x 15" foam board - scissors - box cutter - hot glue glue - white felt - felt in assorted colors for your truck accessories and ice cream treats Directions One: Two: Three: Cut out an ice cream truck canopy, window, truck divider & wheels out of felt (in your choice of colors). Four: Glue all the above onto your felt-covered board using your hot glue gun. Five: Create your ice cream treats! This is the fun part and the possibilities are endless. Here's Emma's "Menu" of ice cream treats I've made: happy creating! xo

Au revoir! Catch me on Instagram

I initially started this blog in 2010 to chronicle  my baking adventures. In 2013 I became a mother and this space shifted to sharing my DIYs and inspiration for creative living. Since then, I've been fortunate to work with multiple companies producing creative editorial content. As I look back at this blog, I'm reminded of how your passions can actually unfold into a career. And if you're really patient and willing to put in the all the work, dream jobs do come true. So it is here where I say au revoir to my beloved blog, aka my creative journal. You can still find me on @craftedbyjen .  xoxo, Jen